For companies of all sizes, the Fanvil SIP Phone is a great option for dependable and feature-rich VoIP solutions. Starting is simpler than you may imagine, whether you’re implementing a single desk phone or a complete suite of Fanvil X Series Enterprise IP Phones. This brief tutorial walks you through the necessary actions to configure your Fanvil SIP phone effectively.
Fanvil SIP Phone: Why Choose Them?
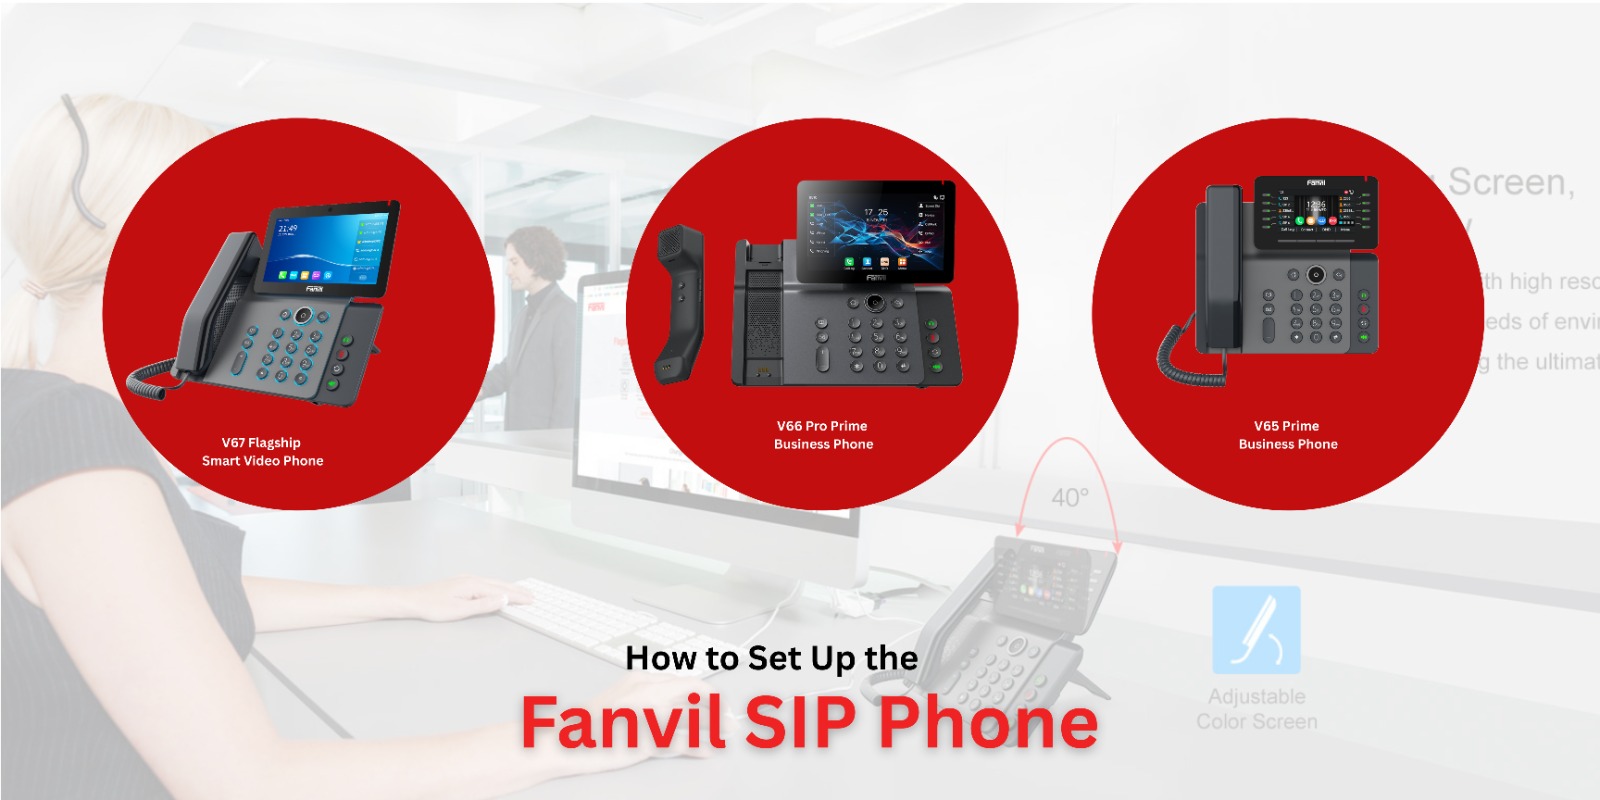
One of the top producers of VoIP equipment, Fanvil is renowned for providing enterprise-level quality at a cost-effective pricing. The streamlined design, HD voice quality, integrated DSS keys, and compatibility with popular SIP platforms like Asterisk, 3CX, BroadSoft, and others make the Fanvil X Series Enterprise IP Phones very well-liked.
These phones are also designed to easily interact with other smart office technologies, like the X Series IP Camera, to provide a comprehensive and interconnected communication environment.
Step-by-Step Guide to Set Up Your Fanvil SIP Phone
1. Unbox and Connect the Hardware
Start by unpacking your Fanvil SIP phone. In the box, you’ll typically find:
- The phone unit
- Handset and cord
- Ethernet cable
- Stand
- Power adapter (if PoE is not used)
Connect the handset to the base, and use the Ethernet cable to link the phone to your network switch or router. If your network supports Power over Ethernet (PoE), the phone will power on automatically. Otherwise, plug in the provided power adapter.
2. Access the Web Interface
Once powered on, the phone will display an IP address on the screen. Enter this IP address in a web browser on a computer connected to the same network. This brings you to the phone’s web configuration portal.
- Default username: admin
- Default password: admin
Note: It’s crucial to change the password after initial setup for security purposes.
3. Configure SIP Account Settings
Navigate to the “Line” or “SIP” section in the web interface and input the following information from your VoIP provider:
- SIP Server or Registrar
- Username / SIP ID
- Authentication Name
- Password
- Outbound Proxy (if applicable)
Save the settings, and your Fanvil SIP phone should register successfully with your VoIP server.
4. Customize Settings (Optional)
- Explore the additional features your phone offers:
- Program DSS keys for speed dial, BLF, or call transfer
- Set time zones and language
- Enable call forwarding, voicemail, and DND features
If you’re using Fanvil X Series Enterprise IP Phones, you’ll also benefit from advanced features like multi-line support, HD video (on some models), and integration with the X Series IP Camera for secure door access and surveillance.
Final Thoughts
It is easy to set up a Fanvil SIP Phone, which can be completed in just a few minutes. The X Series provides high-end functionality and integration with other smart office devices, such as the X Series IP Camera, making Fanvil a great option for constructing a modern, high-performance communications network.
Whether you’re a small business or an enterprise, investing in Fanvil X Series Enterprise IP Phones ensures reliable, scalable, and professional communication.